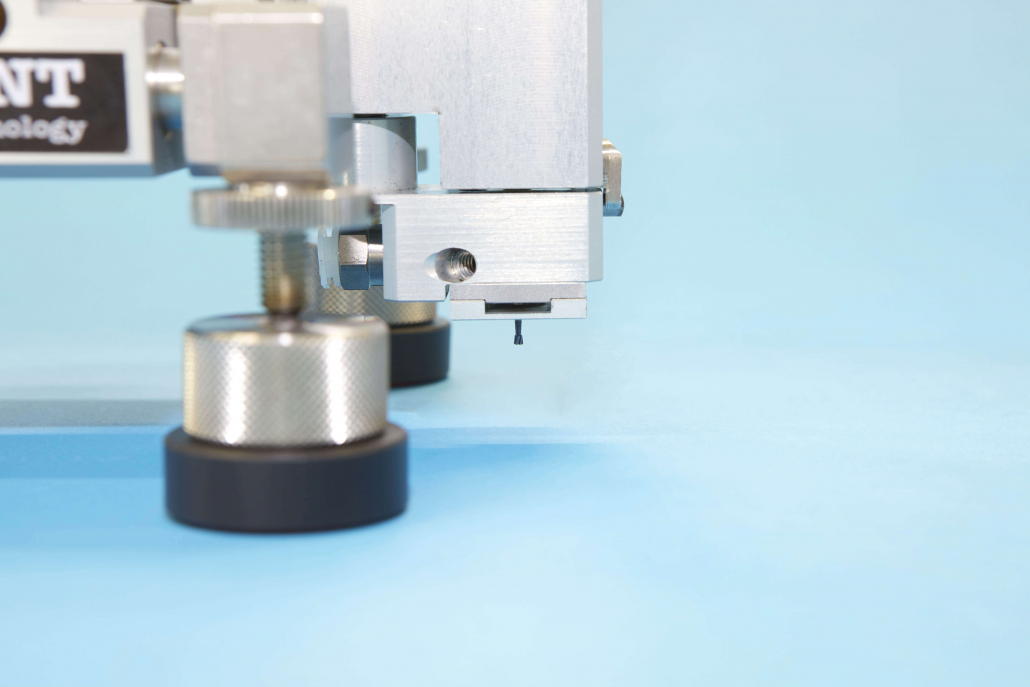
The MTS3000-Restan is an automatic system to measure residual stresses by the strain-gage hole-drilling method.
The system consists of an optical-mechanical device, a dedicated drilling device based on different important features, an electronic control unit and two dedicated software programs for the control of the hole-drilling operating and strain gage acquisition (RSM) and for the evaluation of the residual stress starting from the acquired strains (EVAL).
Once the MTS3000-Restan is placed on the component under test, the position of the drilling device can be manually adjusted thanks to two micrometric screws. This operation brings the cutter exactly concentric with the strain gage rosette, thanks to the use of the dedicated microscope with a cross-hair pointer.
Depending on the system configuration and the type of application, the microscope can be provided in two different versions, optical and digital: for the latter, the images acquired by a specific optical sensor are immediately transferred to the control software.
The picture acquisition section of the control software allows to display real-time images and allows to measure the diameter of the drilled hole by the software.
The endmill of the MTS3000-Restan can be quickly brought to its starting position in the vertical direction by manual adjustment of a dedicated knob. An electric contact allows to determine the exact zero-point of the material. In not electric conductive materials, the determination of the starting point can be made by analysing the strain signals acquired from the strain gage rosette installed on the surface of the material.
On metals, the hole is carried out by a high-speed air turbine (400’000 RPM) or by a high-speed electric motor, so that no stresses are induced into the material during the drilling process.
For polymeric or composites materials, the hole is performed with a low-drilling technology in order to minimize the thermal effects that can affect the acquired strain and reduce the quality of the measurement.
The test is fully automatic and the operator can choose many different settings such as number of drilling steps, drilling profile, feed rate, type of strain gage and related acquisition parameters. This process allows to minimize the testing time and increase the accuracy of strain acquisition and depth positioning.
The advancing process into the materials is made automatically by the software that controls a stepper motor installed on the mechanical body of the device.
This motor and a micrometric screw with a small pitch allow to reach a precision in the depth position up to 5 µm: this is particularly important when hole-drilling measurement are performed on specimens with a high stress gradient close to the surface (for example shot-peening).
At the end of the measurement the diameter of the drilled hole is accurately measured using two centesimal dial gauges installed on the mechanical fixture: in alternative, the same measurement can be made by software when using the digital microscope.
At the end of this process all the acquired data can be automatically imported in the evaluation software (called EVAL) where they can be processed according to the preferences chosen by the user. The software supports different calculation methods, including of course the ASTM E837 standards and different correction algorithms for the main sources of error that can affect such measurements.
If necessary, using the evaluation software, the measurement’s uncertainty can be evaluated and the results can be automatically exported in a dedicated measurement report.


