Sint Technology
  • Company
    • Mission
    • Recognitions
    • Partnerships
    • Customers
    • Company Policy
    • TIC Compliance
  • Products
    • MTS3000 – Restan
    • MTS3000 – Ring Core
    • DRMS Cordless
  • Services
    • Thermodynamic Testing
    • Mechanical Testing
    • Residual Stress Testing
  • Integrated solutions
    • Data acquisition and diagnostic systems
    • Long term monitoring systems – Industry 4.0
    • Custom Solutions
  • Training
    • Level I strain gauge course and examination
    • Level II strain gauge course and examination
    • Residual stress Training
  • English
    • Italian
  • Search
  • Menu Menu
  • Youtube
  • LinkedIn
C
O
N
T
A
C
T
S

Contour

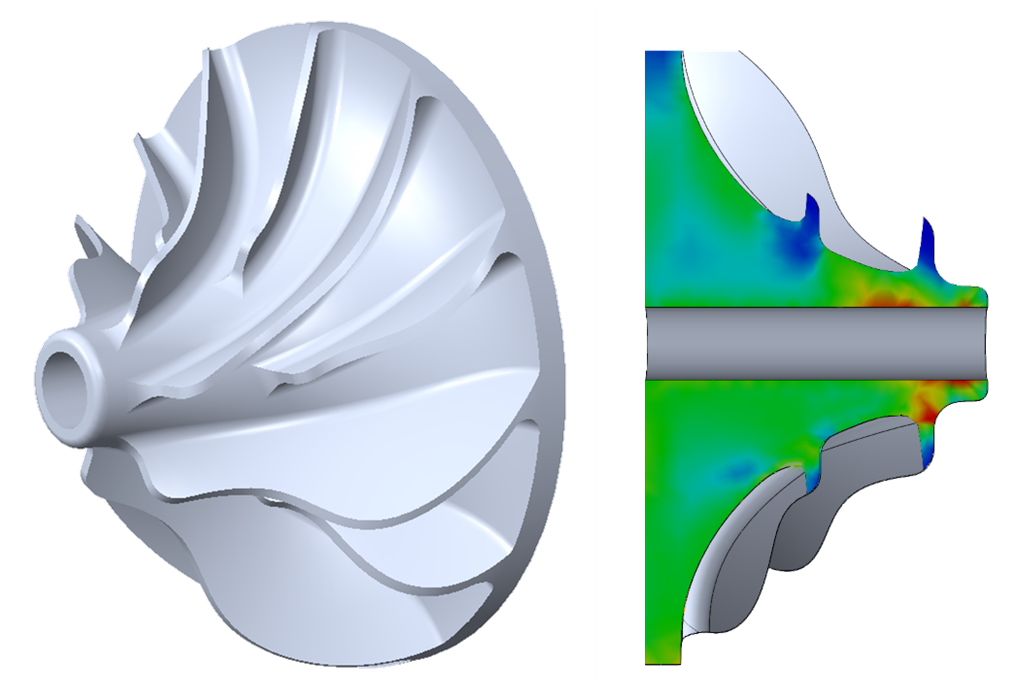
The contour method is a destructive technique based on mechanical strain release principally without the presence of a strain gage sensor for the acquisition of the strains. This technique provides a 2D map of residual stresses in a single direction over the entire material cross-section. It is generally used on metallic specimens.

The Contour method has some advancements: in particular it does not have any limitation regarding the depth of analysis (except a tecnical limitation due to the EDM cutting process). The price of the measurement depends on the dimension of the speciments but it can be considered attractive if compared with the quantity of data that can be acquired. On the other hand, this method provides results only in a single direction and can be used only for laboratory applications.

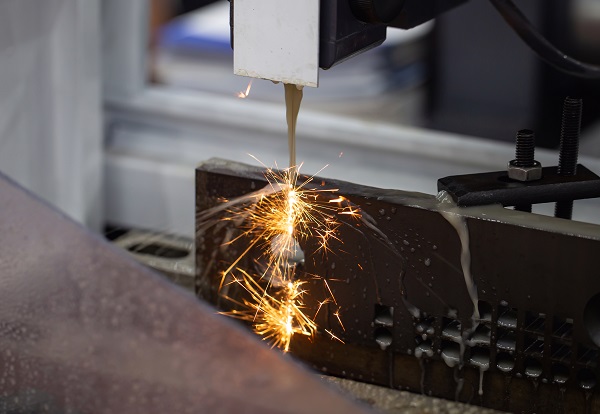
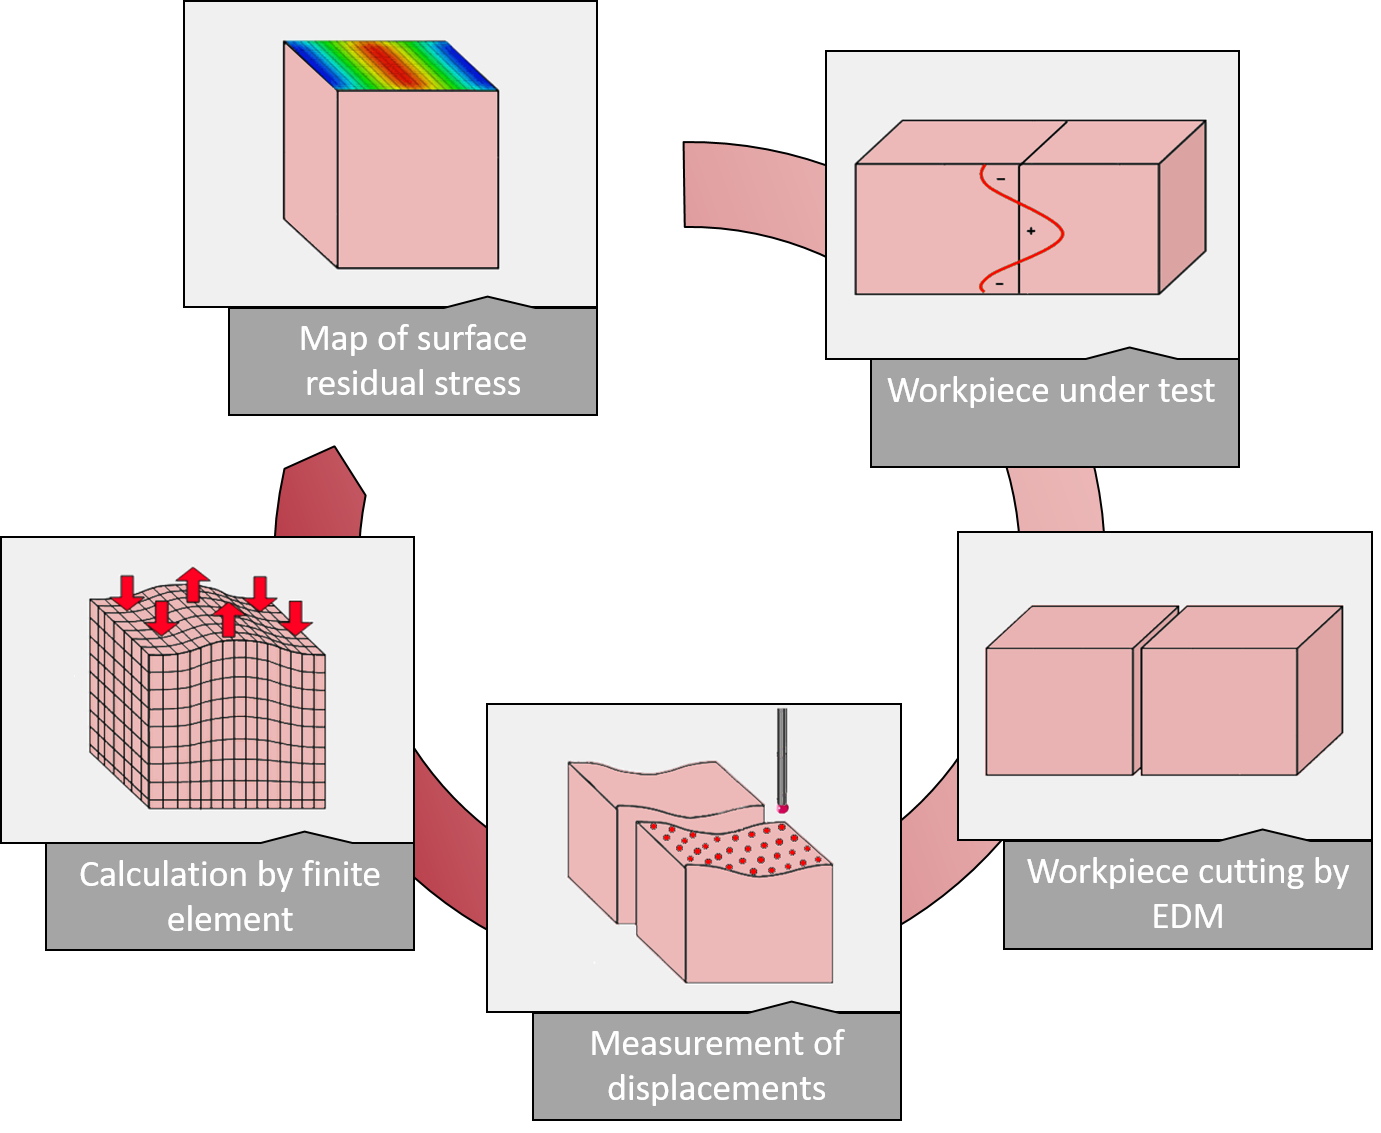
The Contour technique is based on a variation of Bueckner’s elastic principle of superposition. The complete measurement process starts with the cutting of the specimens by EDM: this technique provides a flat cutting without altering or influencing the stress field originally present in the material.

PreviousNext
12

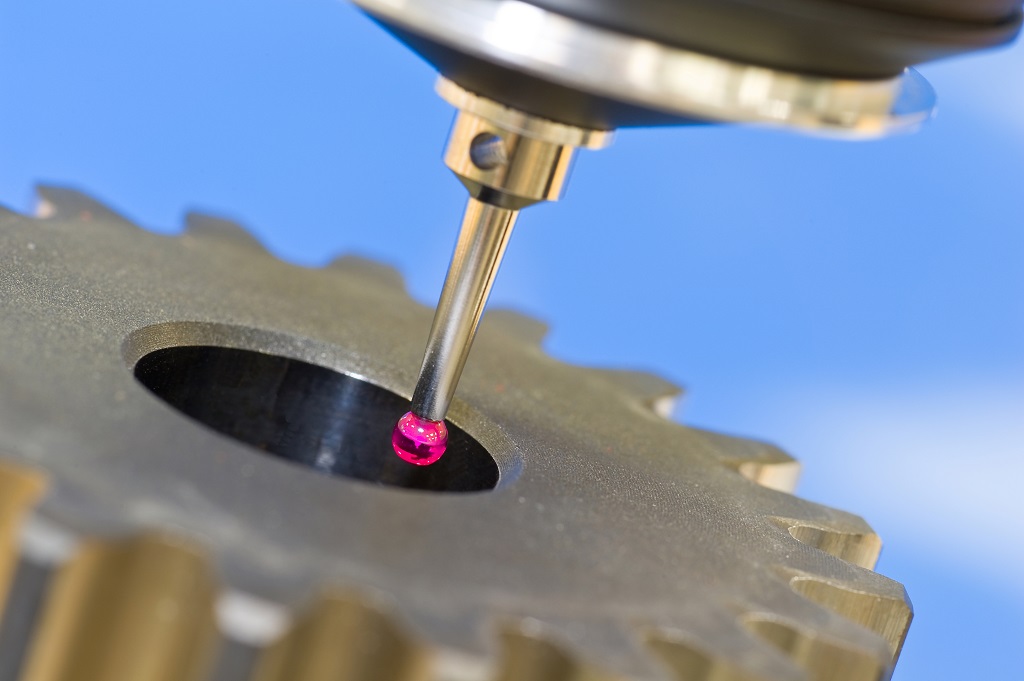
Assuming that the cutting surfaces are perfectly flat in absence of residual stresses, however, in presence of residual stress, the cutting surfaces exhibit local distortions. Then, using a cordinate measurement machine with a touch probe, the displacements along the cutting surface are measured. Finally, thanks to finite element analysis (FEM), displacements can then be processed and a residual stress map can be evaluated, thanks to the evaluation of the system of force necessary to restore the flat condition of the surface equivalent to the stresses that originally constrained within the specimen material.

Further readings & Scientific Papers

  • Prime, M. B., “Cross-Sectional Mapping of Residual Stresses by Measuring the Surface Contour After a Cut”, Journal of Engineering Materials and Technology, 123, pp. 162-168, 2001.
  • Schajer G.S., “Practical Residual Stress Measurement Methods”, Wiley, 2013.

Residual Stress Testing

  • Overview
  • Hole – drilling
  • Ring – coring
  • Mechanical Strain Release
  • X-Ray Diffraction
  • Contour
© Copyright - SINT Technology s.r.l. | VAT n. IT04185870484 | Via delle Calandre, 63 50041 - Calenzano (FI) - ITALY | Tel: +39 055 8826302 | E-mail: info@sintechnology.com
Powered by Playnet
Scroll to top